Getting Started with Rugix
This quickstart guide continues the Rugix quickstart guide and provides step-by-step instructions for integrating Nexigon into your Rugix project. It takes you through the steps required to onboard a device and connect to it through Nexigon's remote access functionality. End-to-end this guide should take less than 15 minutes to complete. So, let's get started.
To follow this guide, you need access to a working Nexigon instance. For evaluation and demonstration purposes, we provide a free instance at demo.nexigon.dev. Creating an account there only takes a few minutes, no credit card required.
After setting up Nexigon or creating an account on our demo instance, you can log into Nexigon's web UI. Generally, all functionality accessible through the UI is also exposed via Nexigon's HTTP API, so you can automate all aspects of Nexigon.
Projects and Deployment Tokens
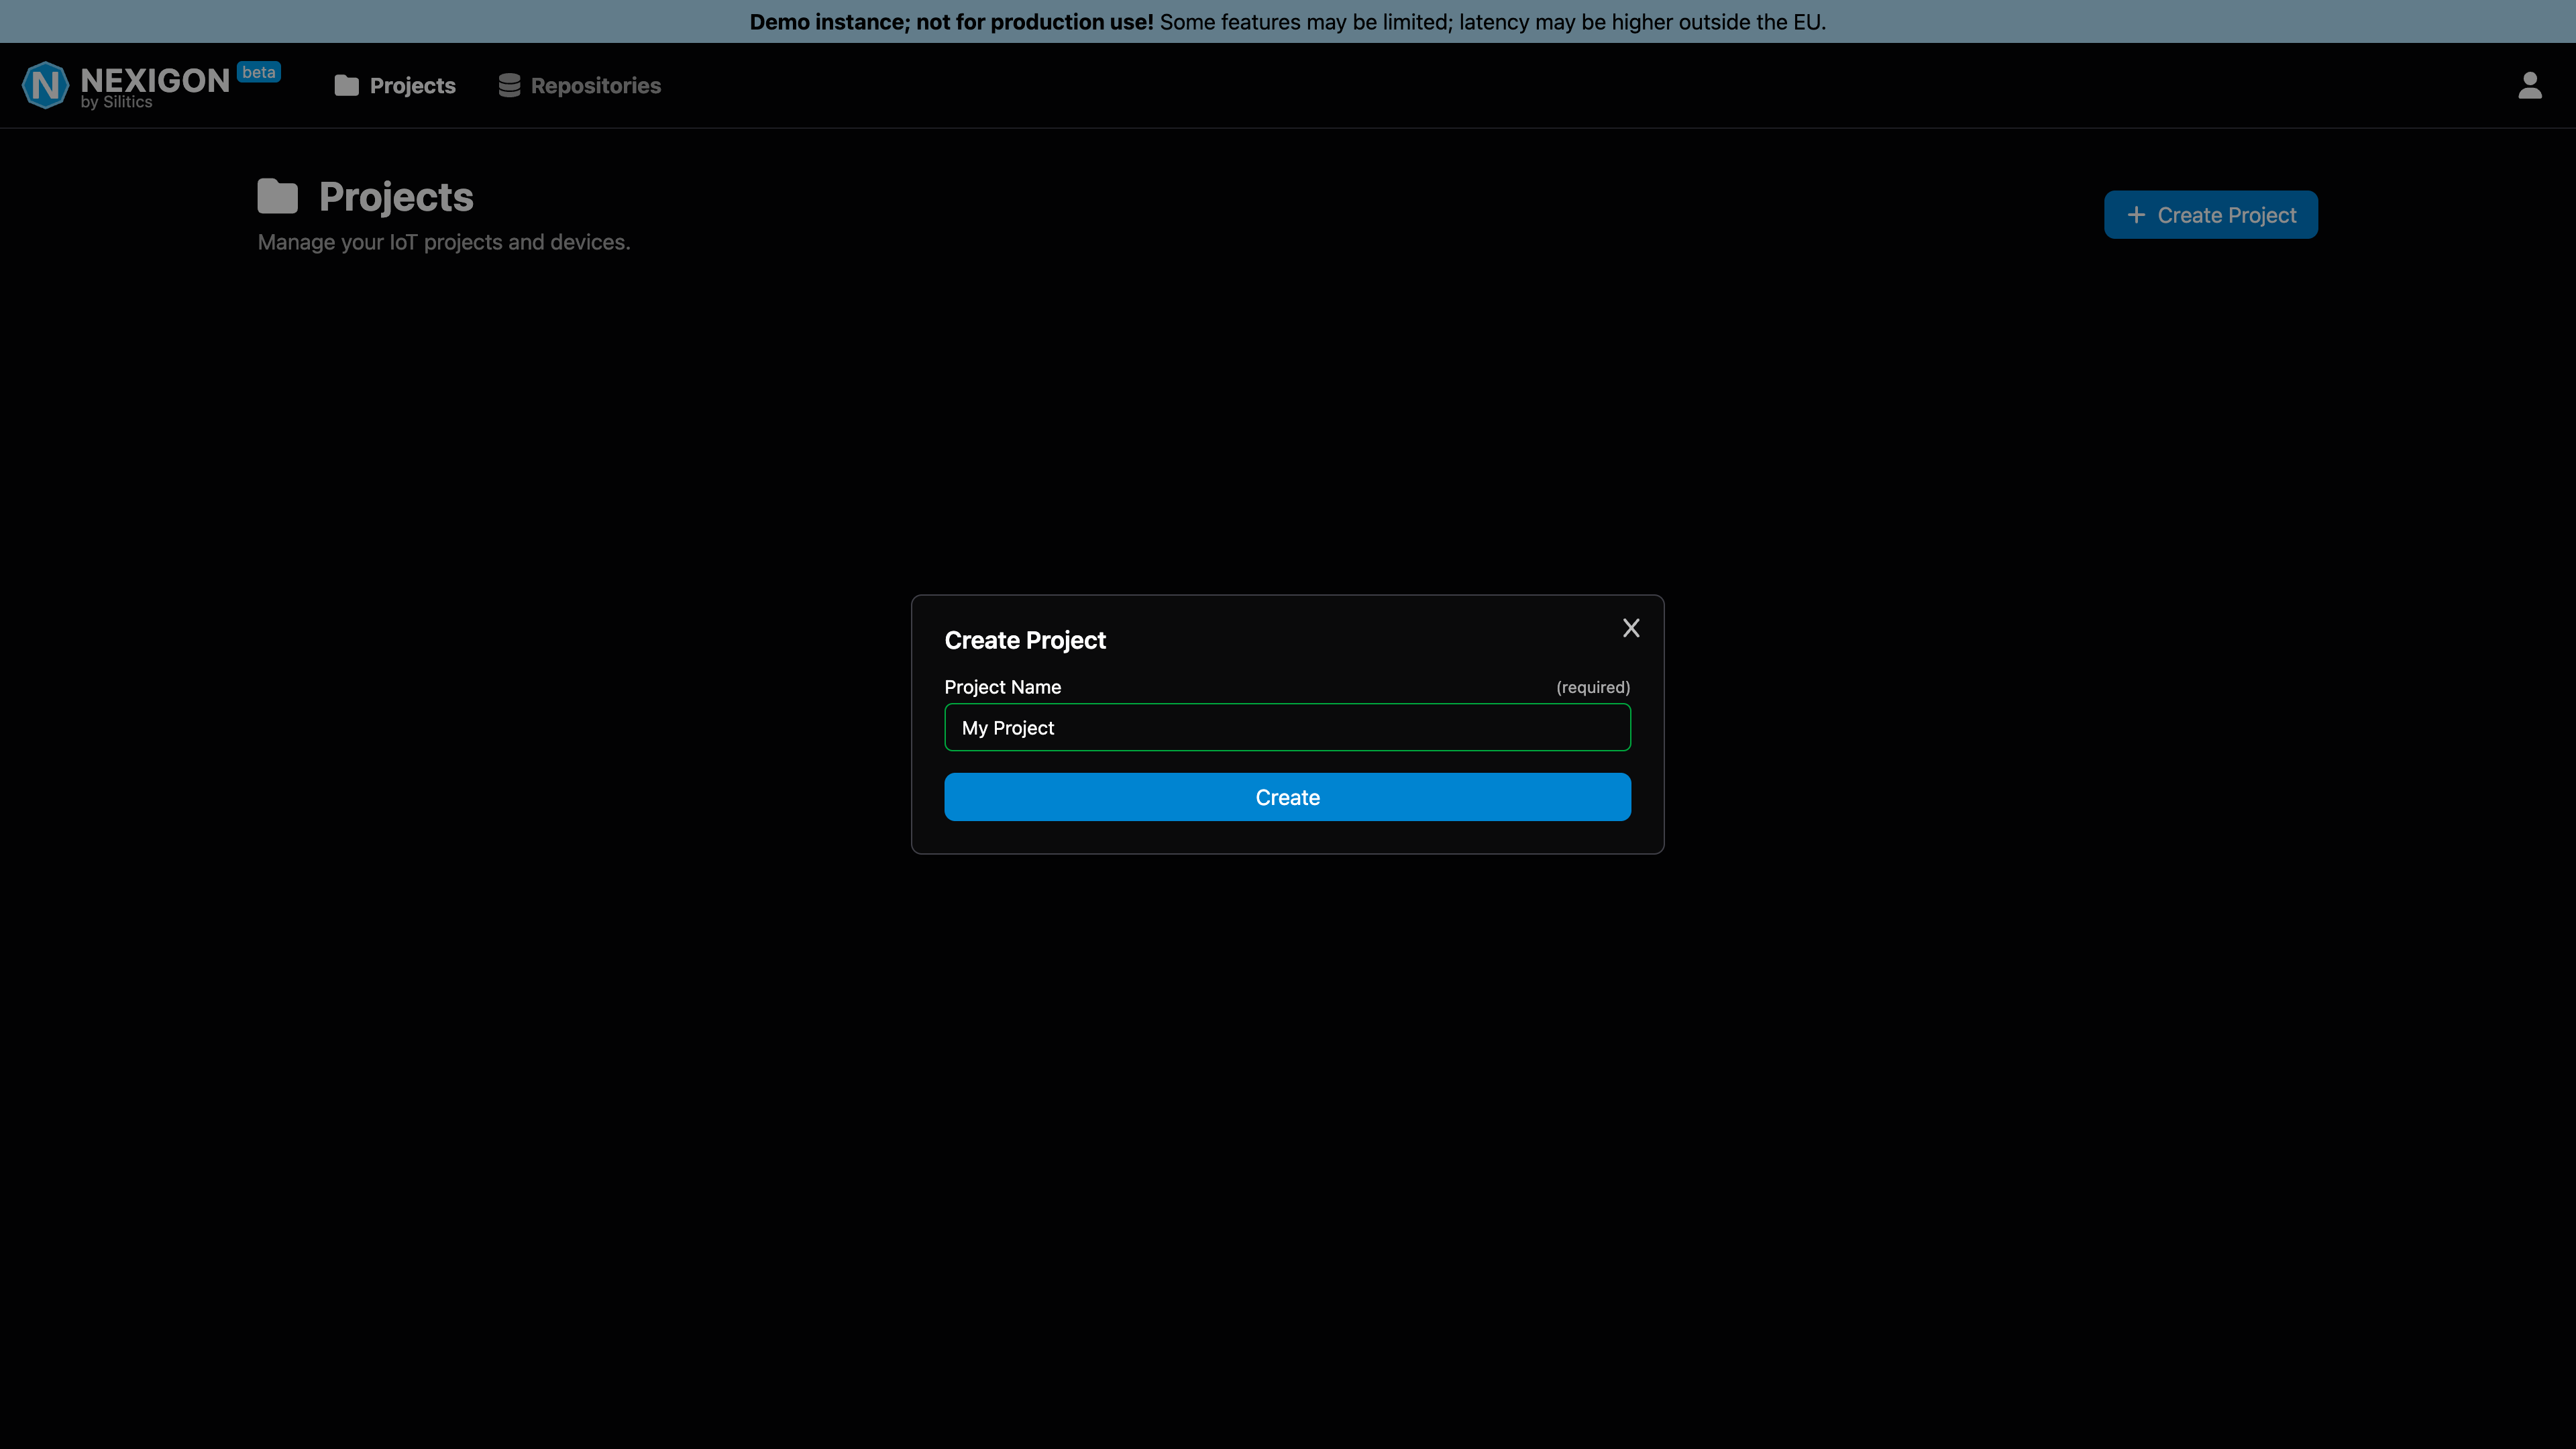
Within Nexigon devices are organized into projects. To connect a device, the first step is to create a new project. To this end, within the Projects tab of Nexigon's UI, click on Create Project, give the project a name, and confirm the creation.
With Nexigon, security is non-negotiable and a foundational design principle. When you connect a device, it authenticates using three independent factors to ensure that only authorized devices can join your infrastructure:
- Device Certificate — unique cryptographic identity of a device used for mutual TLS authentication.
- Deployment Token — identifies the target project and may constrain what a device is allowed to do.
- Device Fingerprint — hardware-specific fingerprint computed from hardware characteristics.
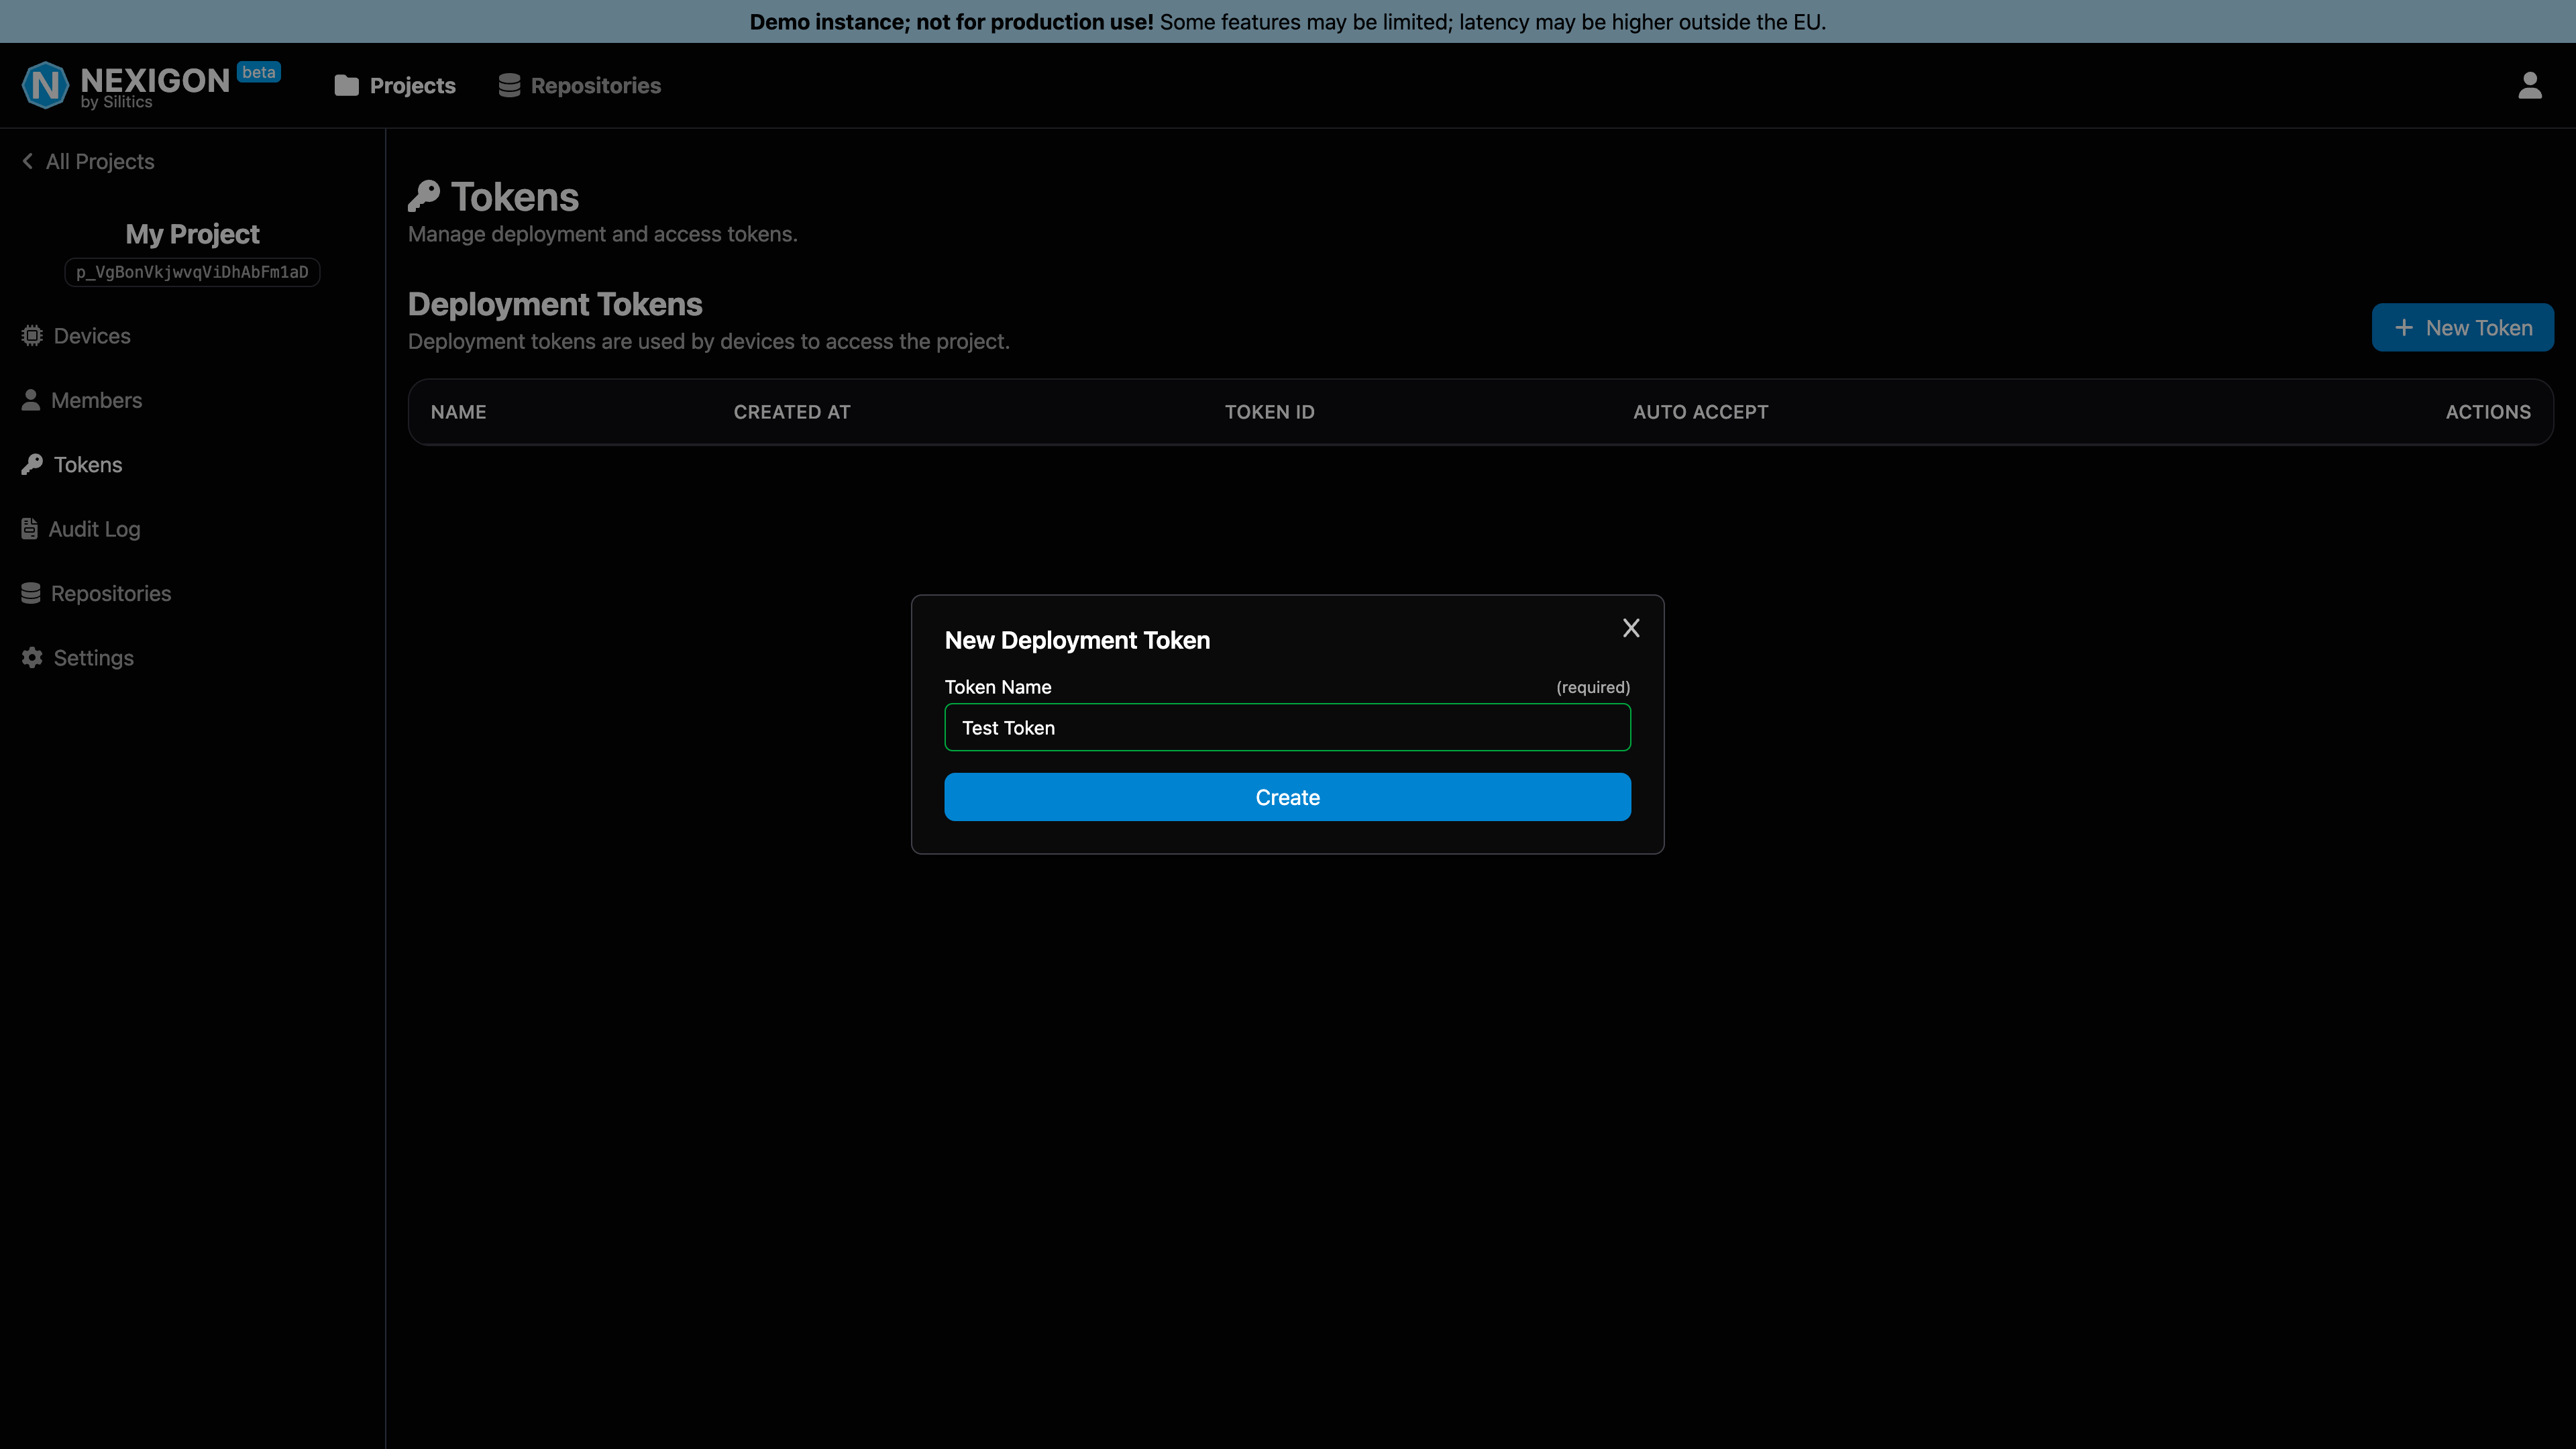
Before you can connect a device, you need to generate a deployment token. To do this:
- Open your newly created project (should open automatically after creation).
- Navigate to the Tokens page using the menu on the left.
- Click on New Token within the Deployment Tokens section.
- Give the token a descriptive name and confirm the creation.
- Copy the token and save it somewhere safe, you will need it later.
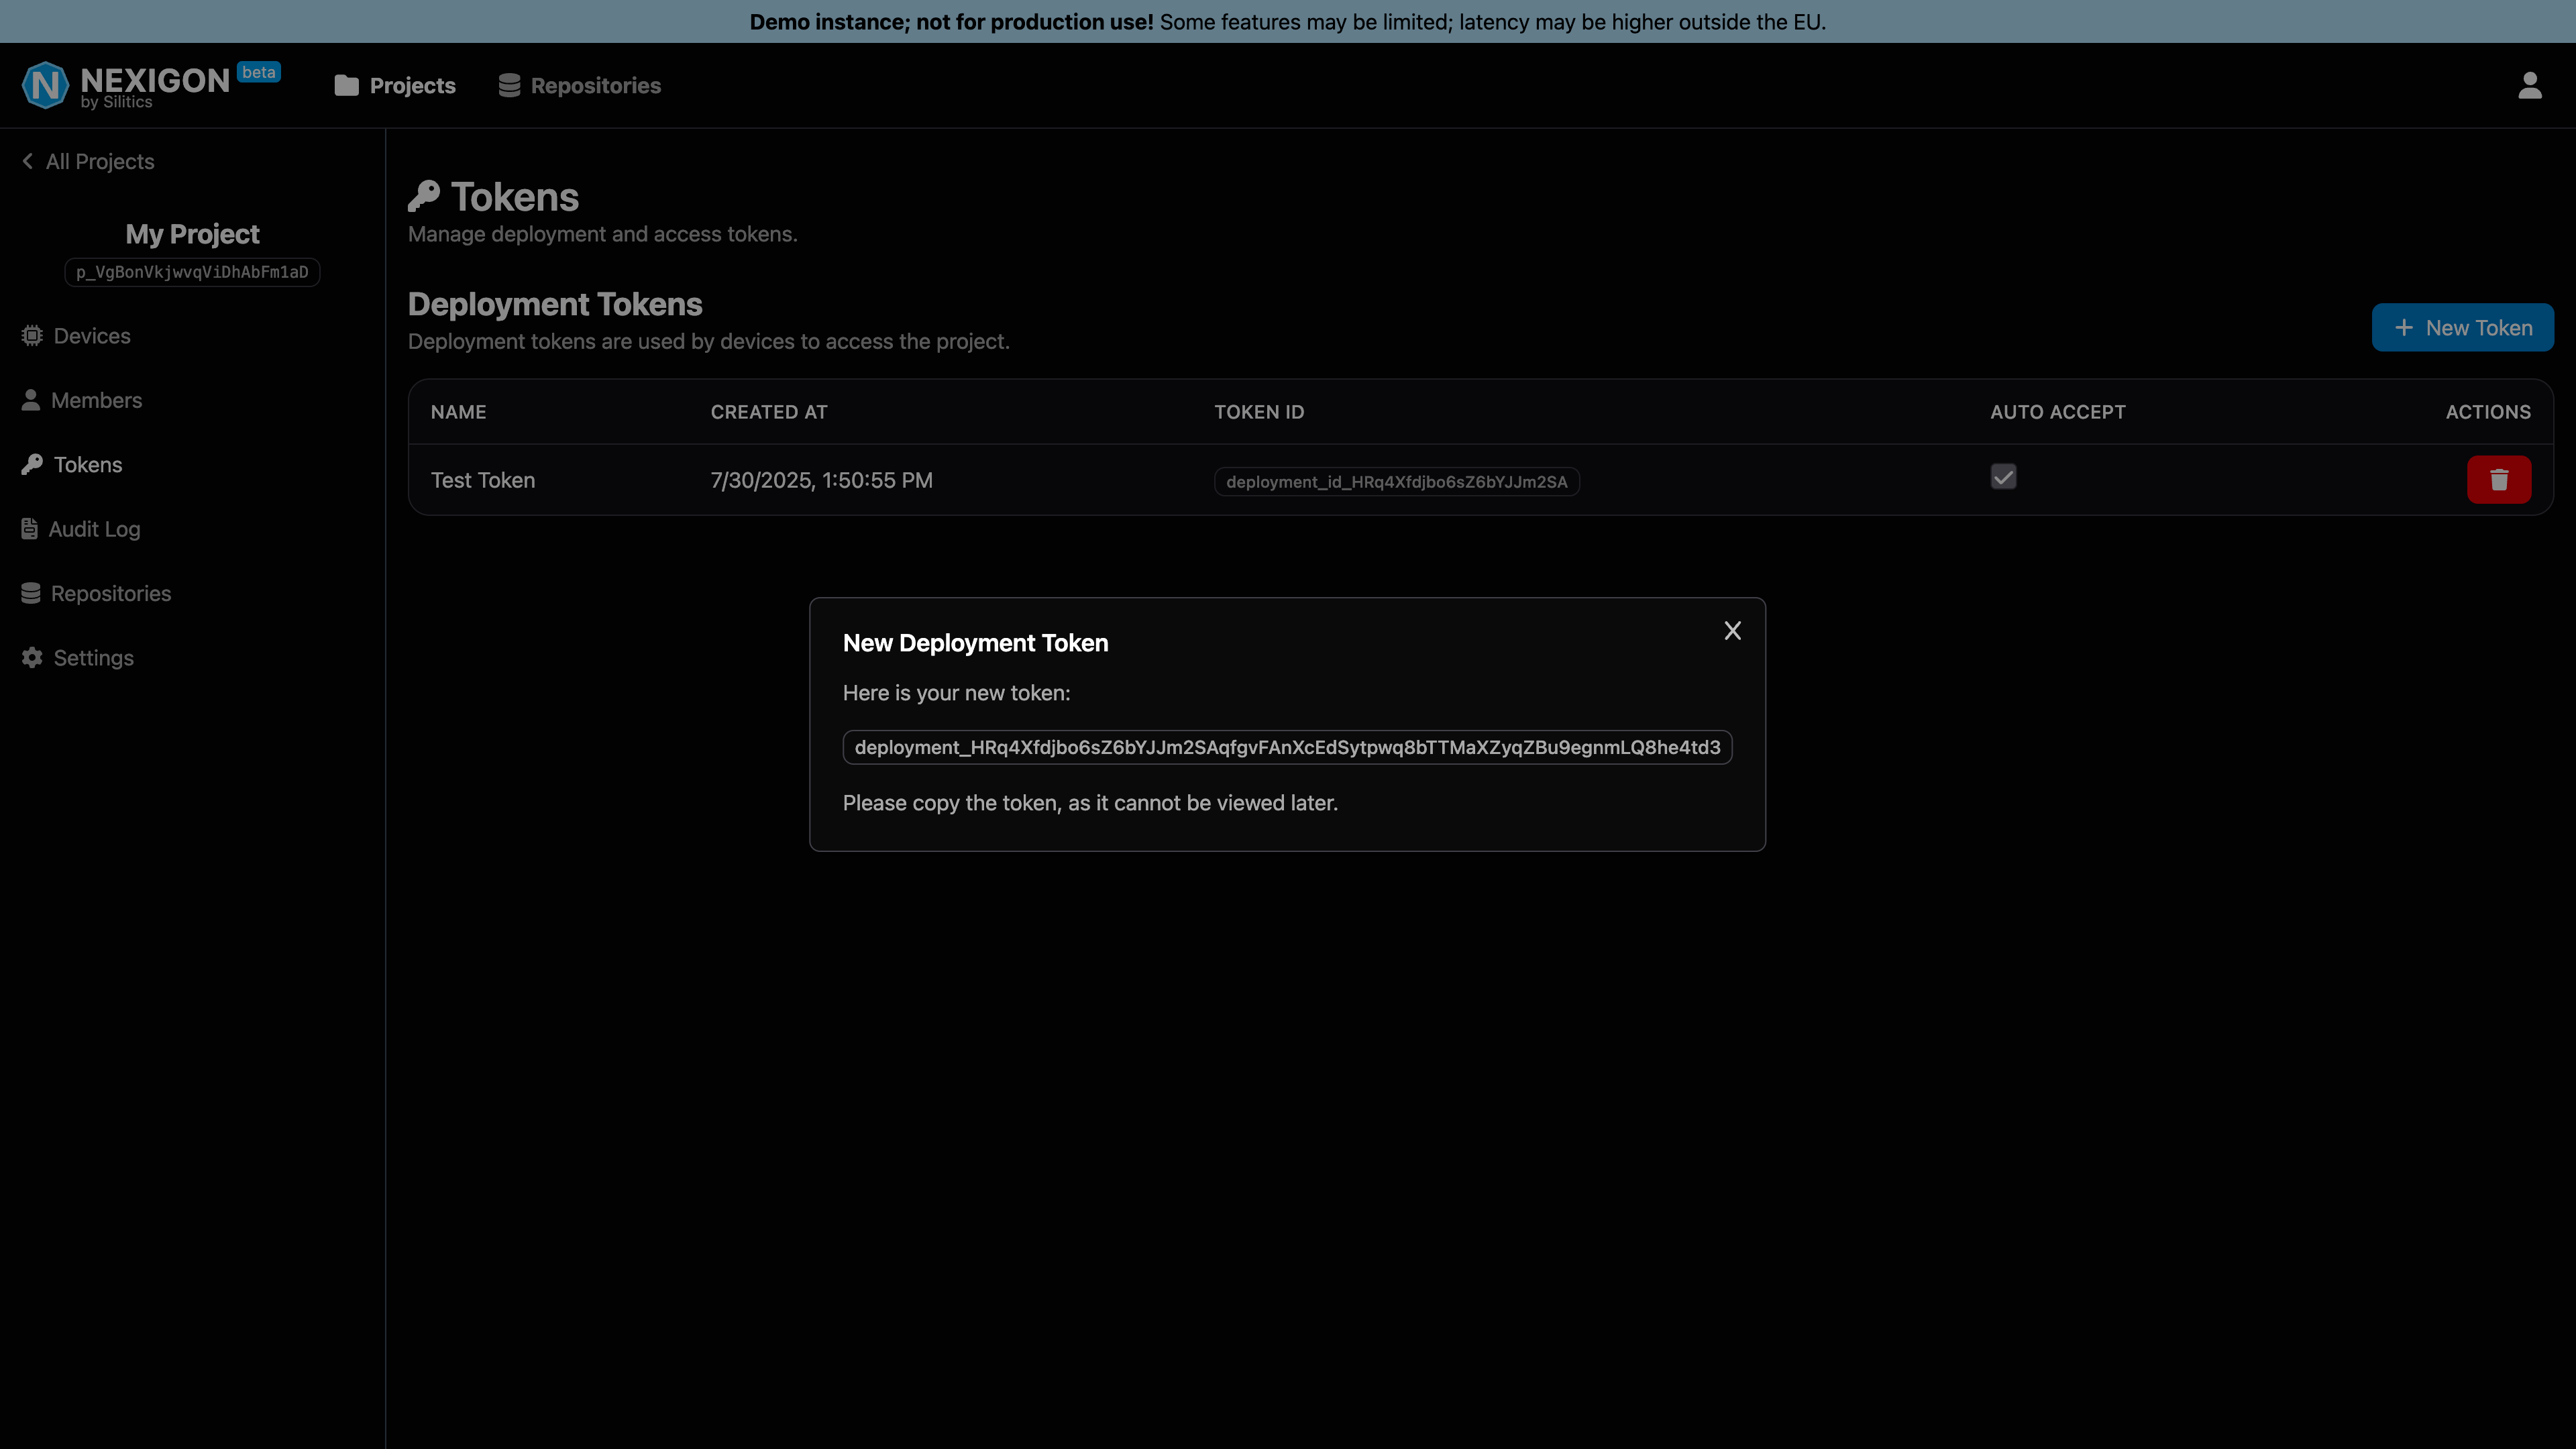
Note that you have to copy the token after creation, as you will not be able to access it through Nexigon afterwards. In fact, Nexigon does not store the token but only its hash in order to minimize the attack surface, e.g., in case a database dump is compromised. In general, Nexigon will never store any authentication information in plain text.
With your deployment token, you will now be able to integrate Nexigon into your Rugix project. Let's go!
Integrating Nexigon
To integrate Nexigon into your Rugix project, we provide a ready-made Rugix repository for Nexigon. As a first step, you need to add this repository to your Rugix project.
To this end, add the following to your rugix-bakery.toml file:
[repositories]
nexigon = { git = "https://github.com/nexigon/nexigon-rugix.git", branch = "v0" }
To connect a device, the device needs to run Nexigon Agent, the open-source device agent of Nexigon available for Linux, macOS, and Windows. To install and configure the agent, you need to add the following recipes to your Rugix Bakery layers:
nexigon/nexigon-agent: Installs Nexigon Agent into the system.nexigon/nexigon-agent-config: Configures Nexigon Agent.
For instance, your customized layer might now look like this:
#:schema https://raw.githubusercontent.com/silitics/rugix/refs/tags/v0.8.0/schemas/rugix-bakery-layer.schema.json

parent = "core/debian-bookworm"

recipes = [
    # Set a static hostname.
    "core/set-hostname",
    # Persist `/root`.
    "core/persist-root-home",
    # Setup and enable SSH.
    "core/ssh",
    # Setup the network.
    "rugix-extra/debian-setup-network",
    # Setup the time synchronization.
    "rugix-extra/debian-setup-timesyncd",
    # Enable discovery of the system in the local network.
    "rugix-extra/avahi",
    # Setup Nexigon Agent.
    "nexigon/nexigon-agent",
    # Configure Nexigon Agent.
    "nexigon/nexigon-agent-config",
    # Install a static web site.
    "hello-world",
]
The nexigon-agent-config recipe takes the configuration from a local .env file containing the instance URL and the deployment token of the project you want to connect your devices to.
Here is an example .env file:
# Nexigon Configuration
NEXIGON_HUB_URL="https://demo.nexigon.dev"
NEXIGON_TOKEN="deployment_HRq4Xfdjbo6sZ6bYJJm2SAqfgvFAnXcEdSytpwq8bTTMaXZyqZBu9egnmLQ8he4td3"
While the deployment token is not strictly considered secret, it is nevertheless recommended to not commit it into version control.
Hence, the recipe loads it from the .env file which should be added to the .gitignore file.
With the recipes added and the .env file in place, you can now build an image and deploy it to a device, or start a VM.
If everything has been successful, the agent should start up when you boot the device or VM and will then try to connect to Nexigon. On the Devices page of the project within Nexigon's UI, you should now see a new, unnamed device:
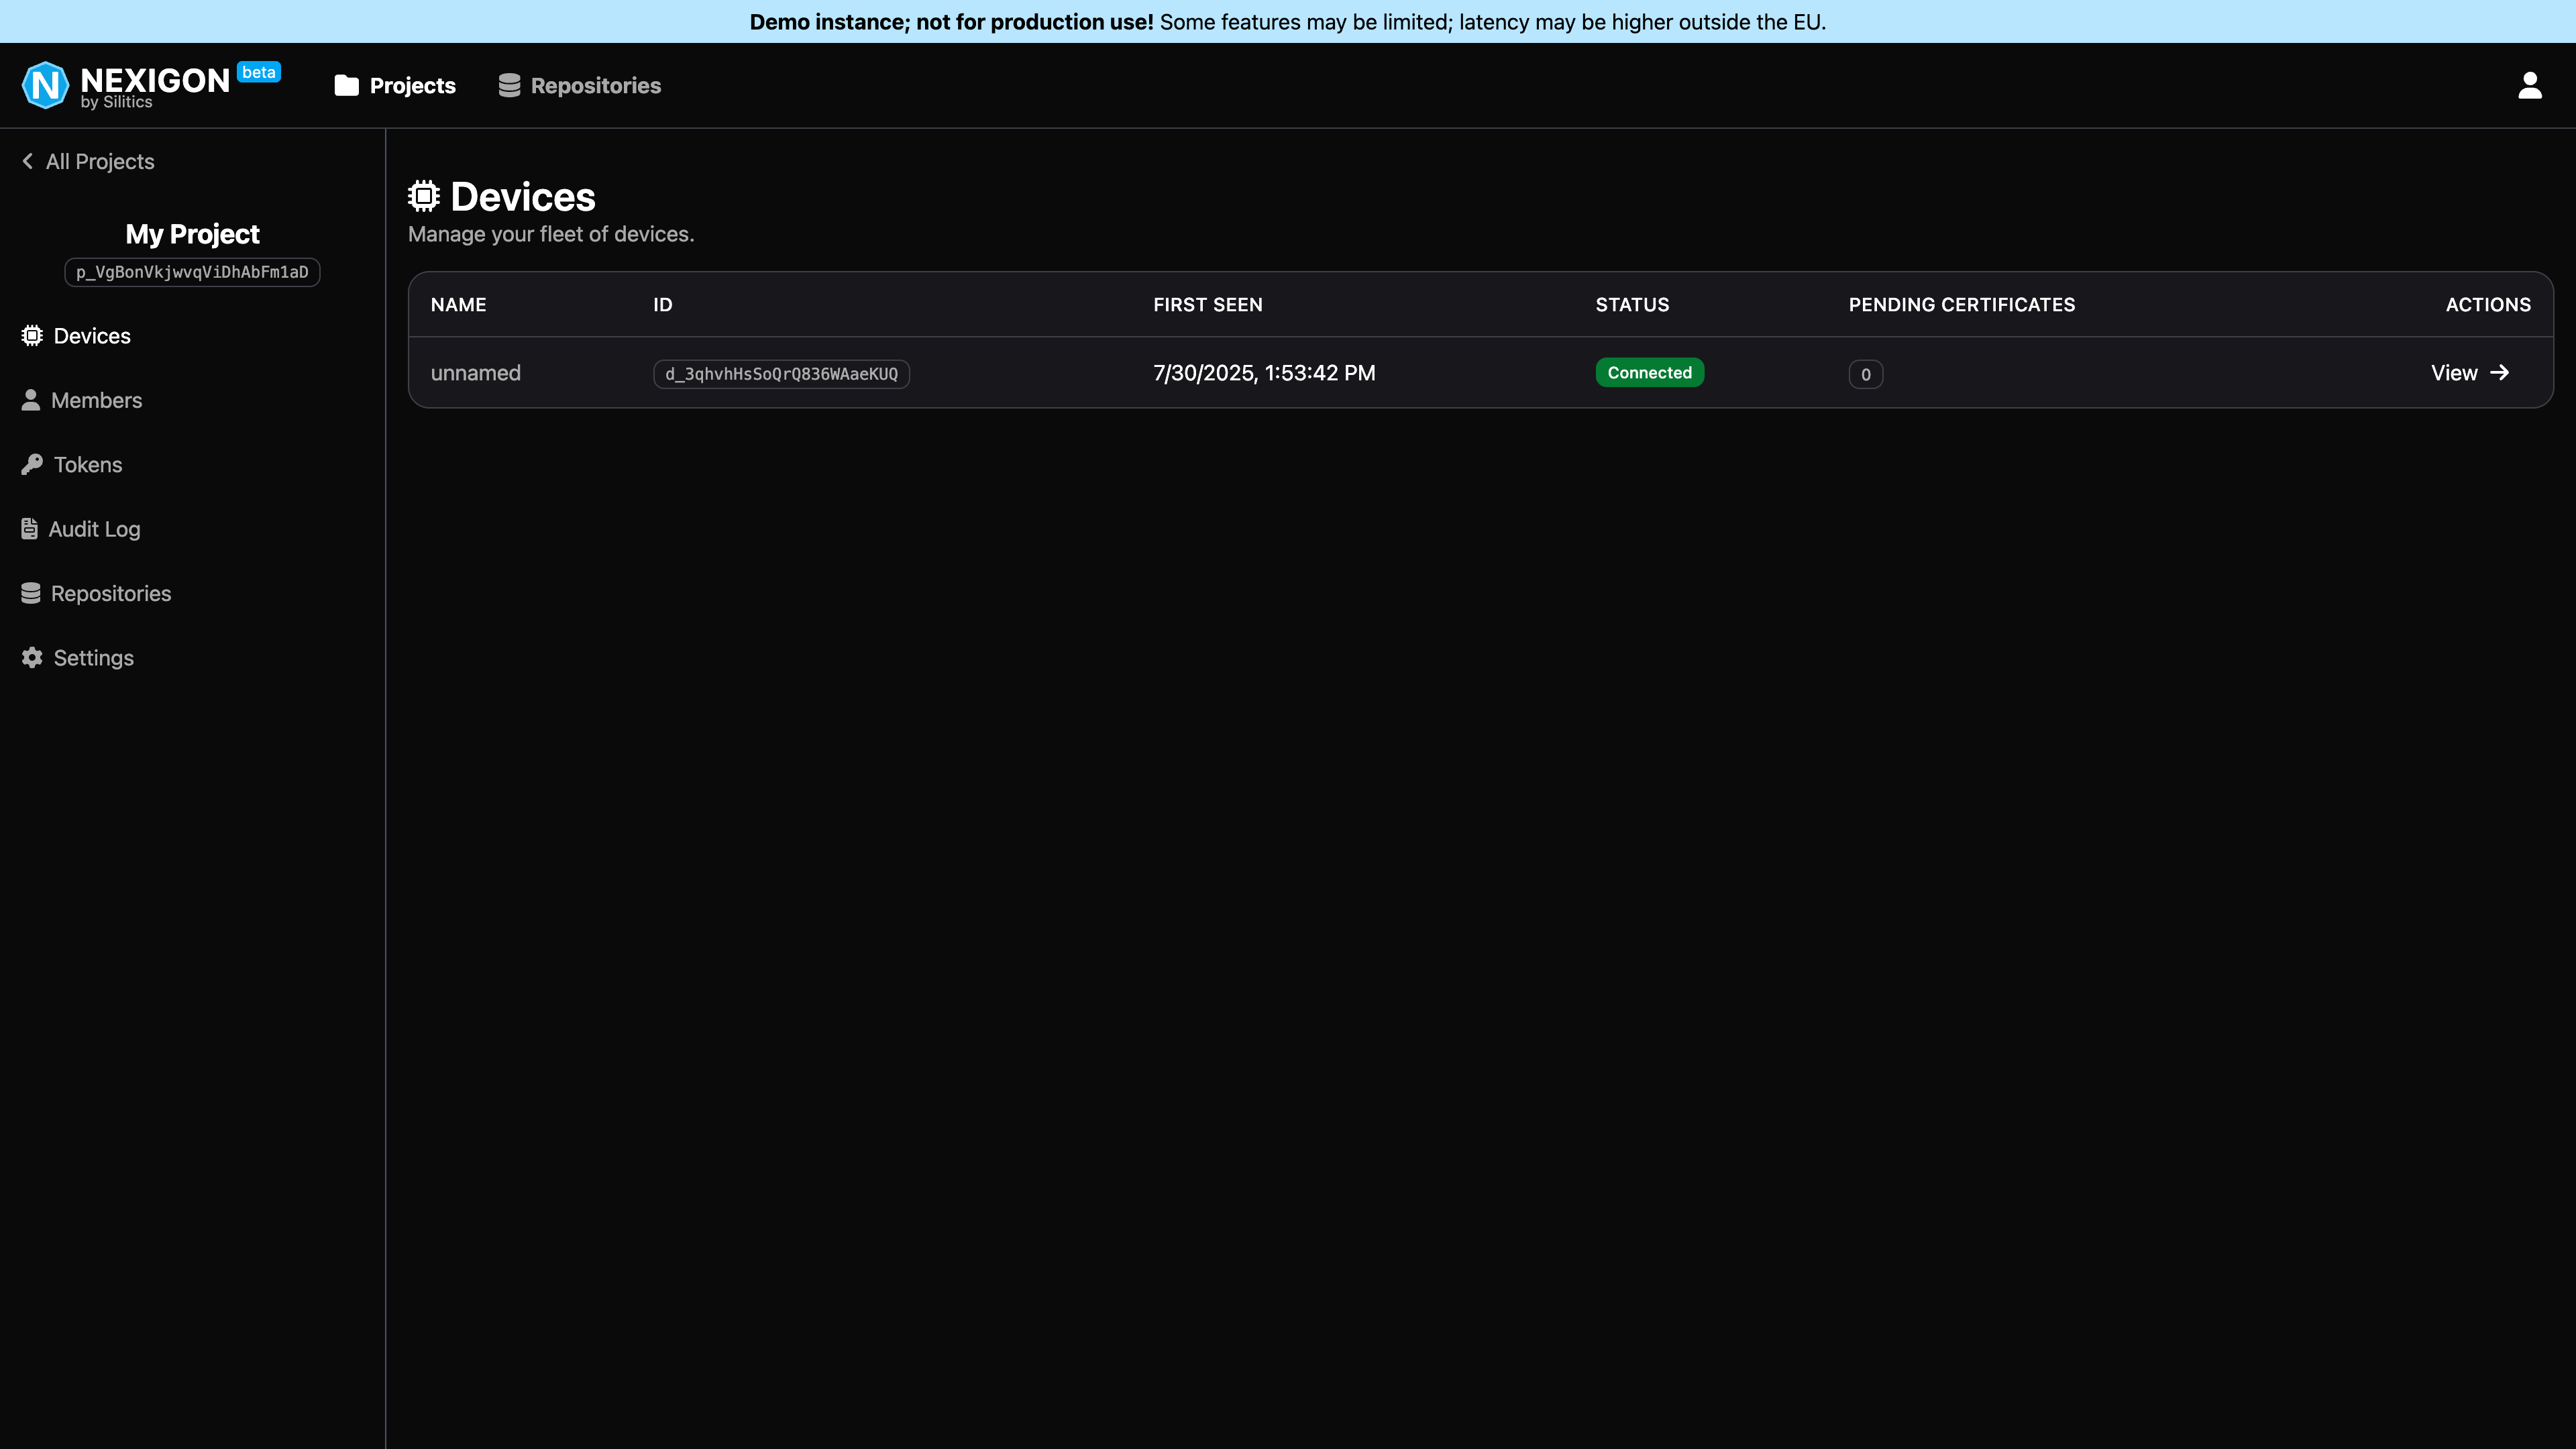
In case the device does not show up, check the agent's log output with journalctl -u nexigon-agent.
If you click on View →, you can inspect the device. Here, you also find an overview over the device's certificates. By default, deployment tokens are configured to allow for automatic provisioning where the first certificate presented by a new device is accepted. Of course, you can also disable this feature and manage device certificates explicitly, e.g., backed by your own CA.
For most use cases, the self-signed certificates generated by Nexigon Agent should be fine and there is no need for a dedicated CA.
Establishing a Remote Connection
If you used the default Rugix quickstart template, the device will run a local webserver on port 80. You can establish a remote connection to this webserver directly through the Nexigon UI, by clicking on View → and then on HTTP Proxy. The built-in HTTP reverse proxy also allows accessing HTTP servers on other ports, however, this functionality is not yet available directly in the UI.

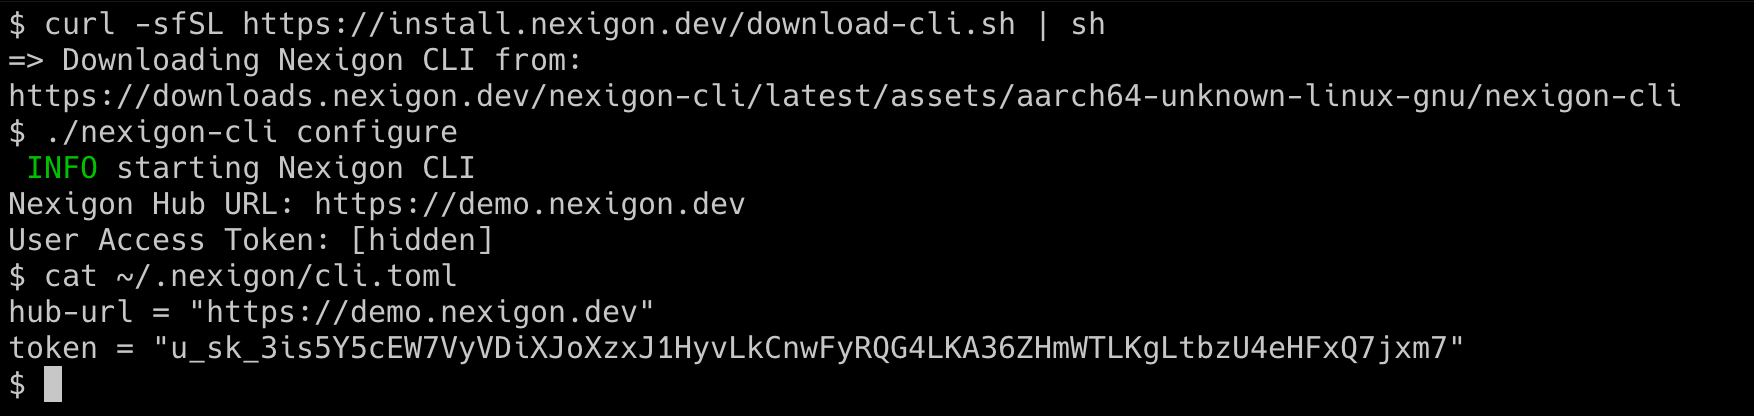
Alternatively, you can use the Nexigon CLI to establish a remote connection and forward arbitrary ports of the device to your local machine. On macOS and Linux, you can download Nexigon CLI with the following command:
curl -sfSL https://install.nexigon.dev/download-cli.sh | sh
This will download the CLI to the current working directory. You can then run it with:
./nexigon-cli
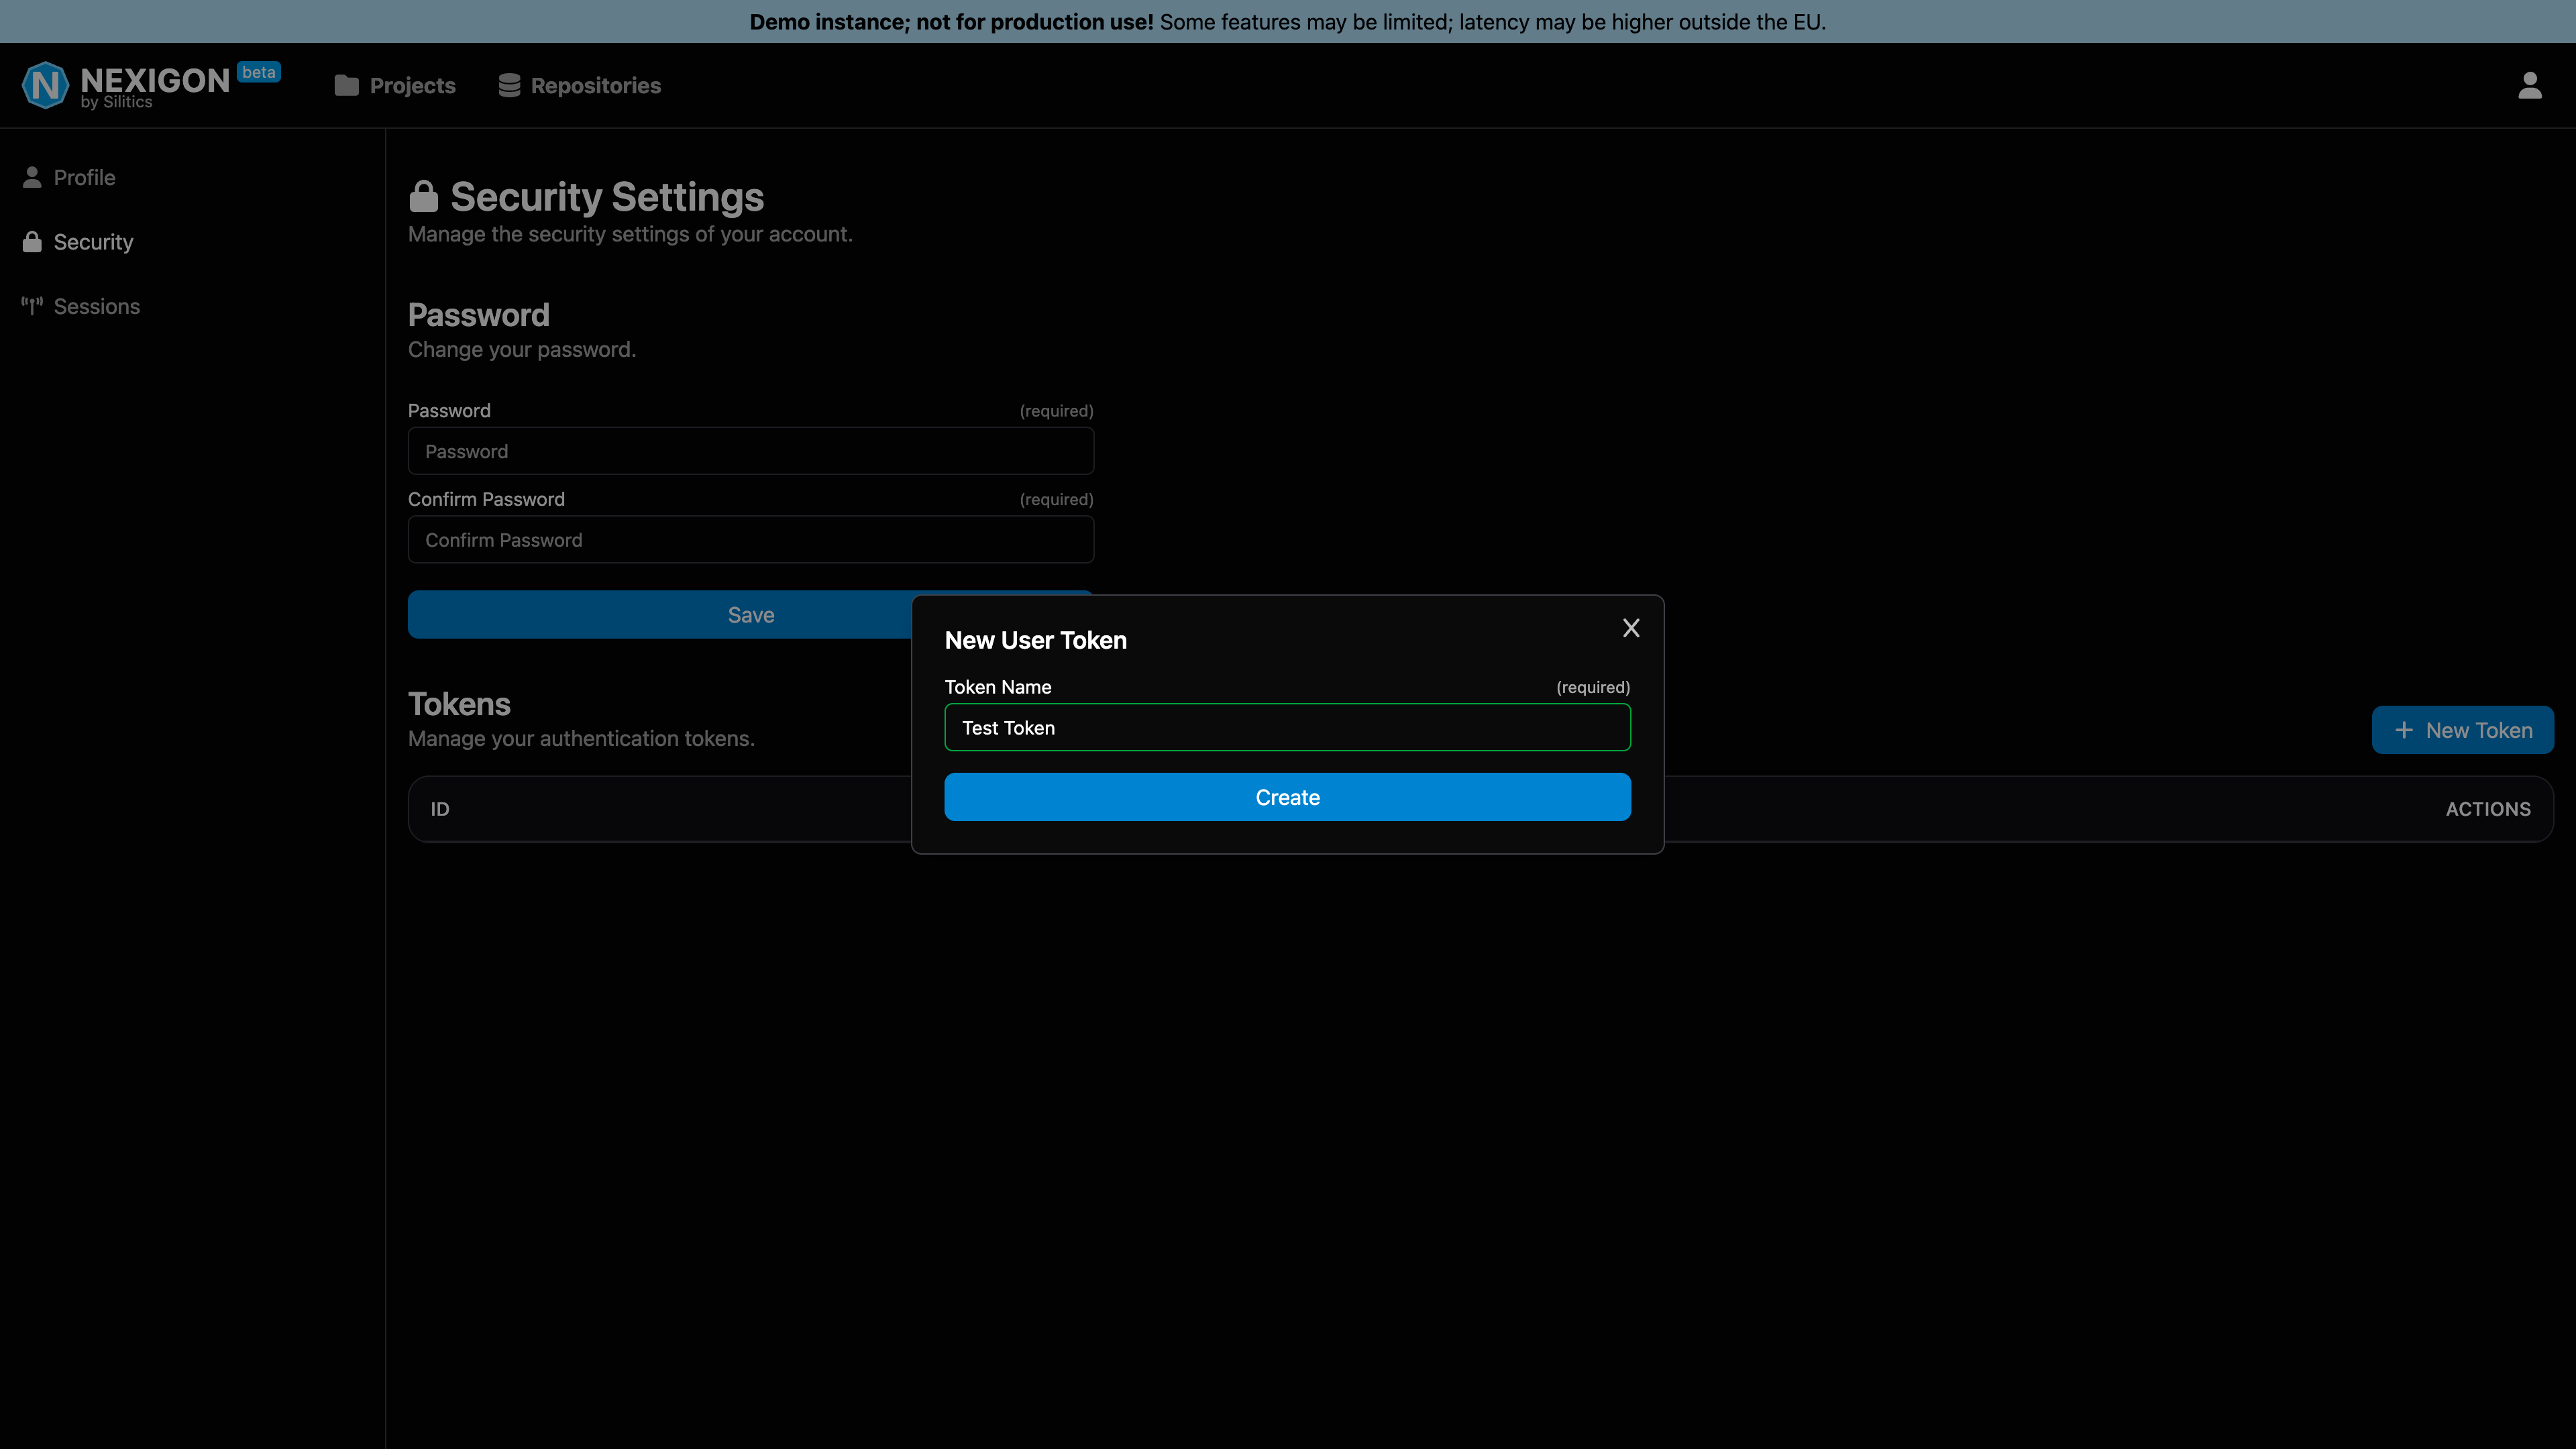
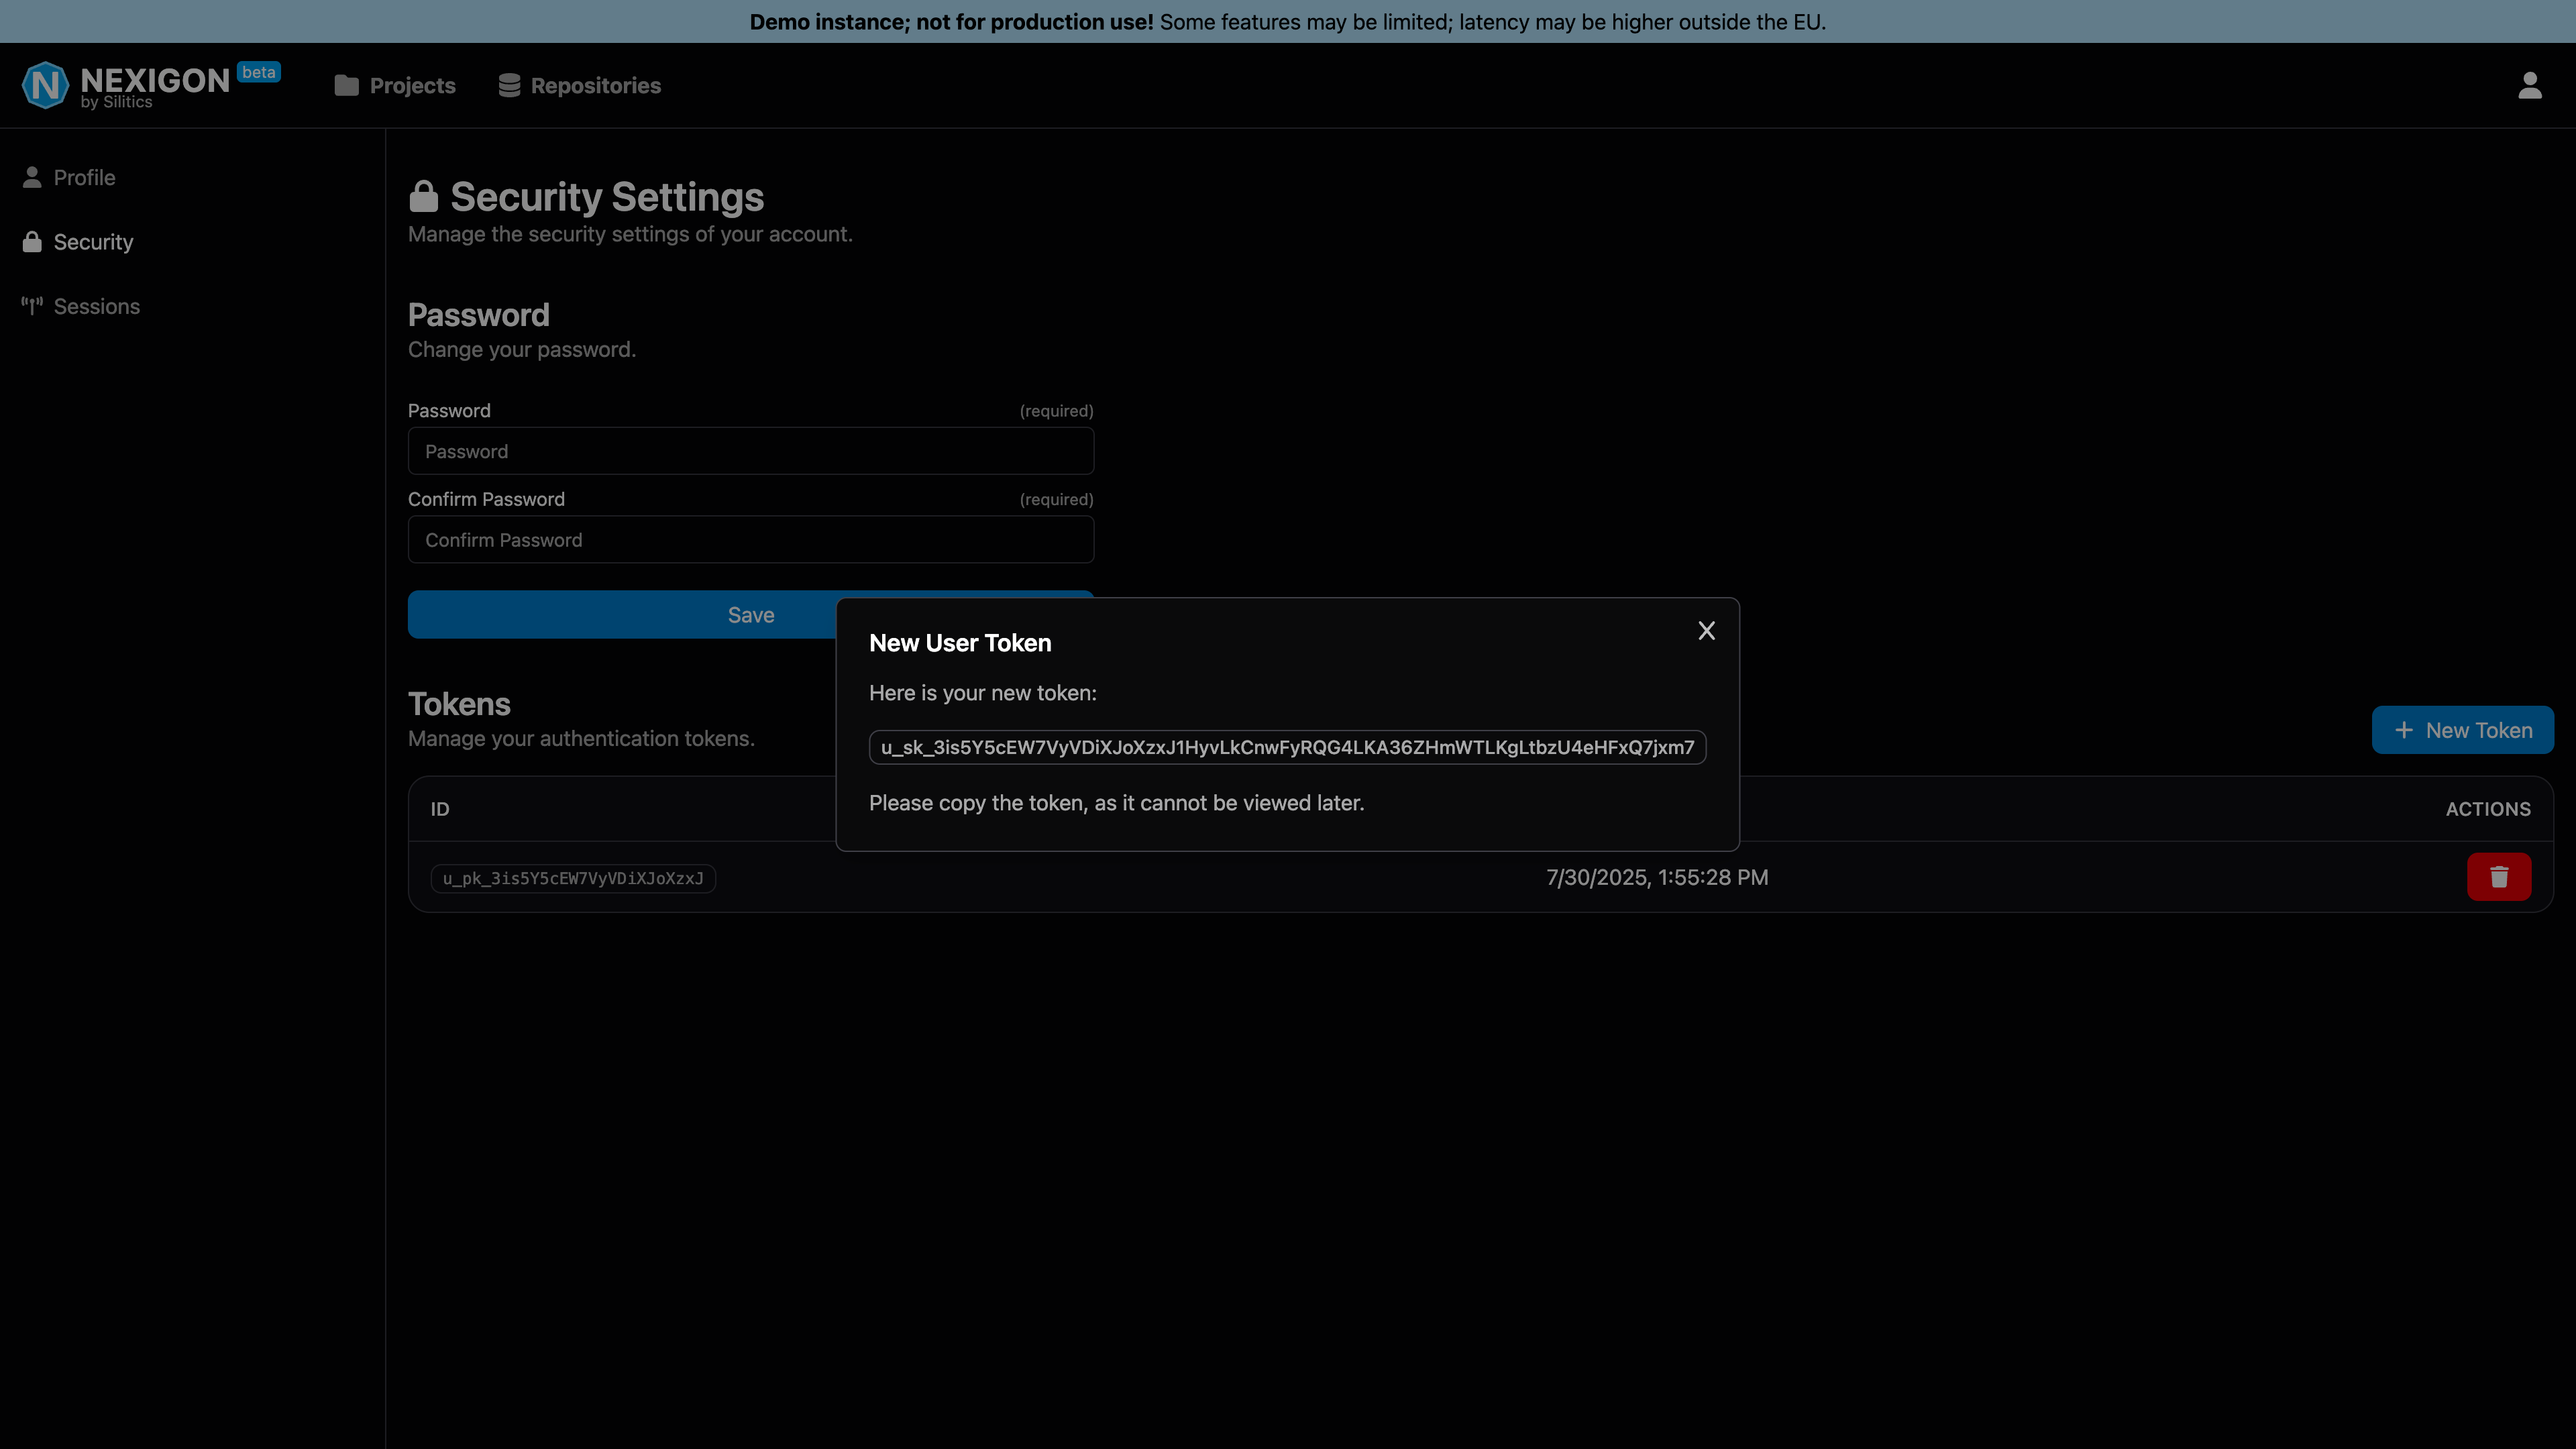
To use the CLI and connect to the device, you need to configure the CLI with the URL of the Nexigon instance and a user access token. To create an access token for your user, open the user's security settings by clicking on the user icon in the top right corner, then go to Settings and then Security. By clicking on New Token, you can create a new user token. As with the deployment token, you need to copy the token after creation, as you will not be able to access it through Nexigon afterwards.
To configure the CLI, run the following command, and enter the instance URL and your user token:
./nexigon-cli configure
The command will create a configuration file ~/.nexigon/cli.toml.
Afterwards, you will be able to establish a remote connection to the device with:
nexigon-cli forward <device id> <local port>:<remote port>
Here, <device id> is the ID of the device you want to connect to. The device ID starts with d_ and can be found in the Nexigon UI.
For instance, to forward port 22 of the device to port 2222 on your local machine, run:
nexigon-cli forward <device id> 22:2222
You can then use the forwarded port to connect to the device via SSH:
ssh -p 2222 root@localhost
Conclusion
Congratulations on completing the Nexigon quickstart guide for Rugix!
You have successfully integrated Nexigon into your Rugix Project, onboarded a device, and established a remote connection to it. From here, you can begin exploring the full range of Nexigon’s capabilities. As always, if you have questions or feedback, we’d love to hear from you, just get in touch.